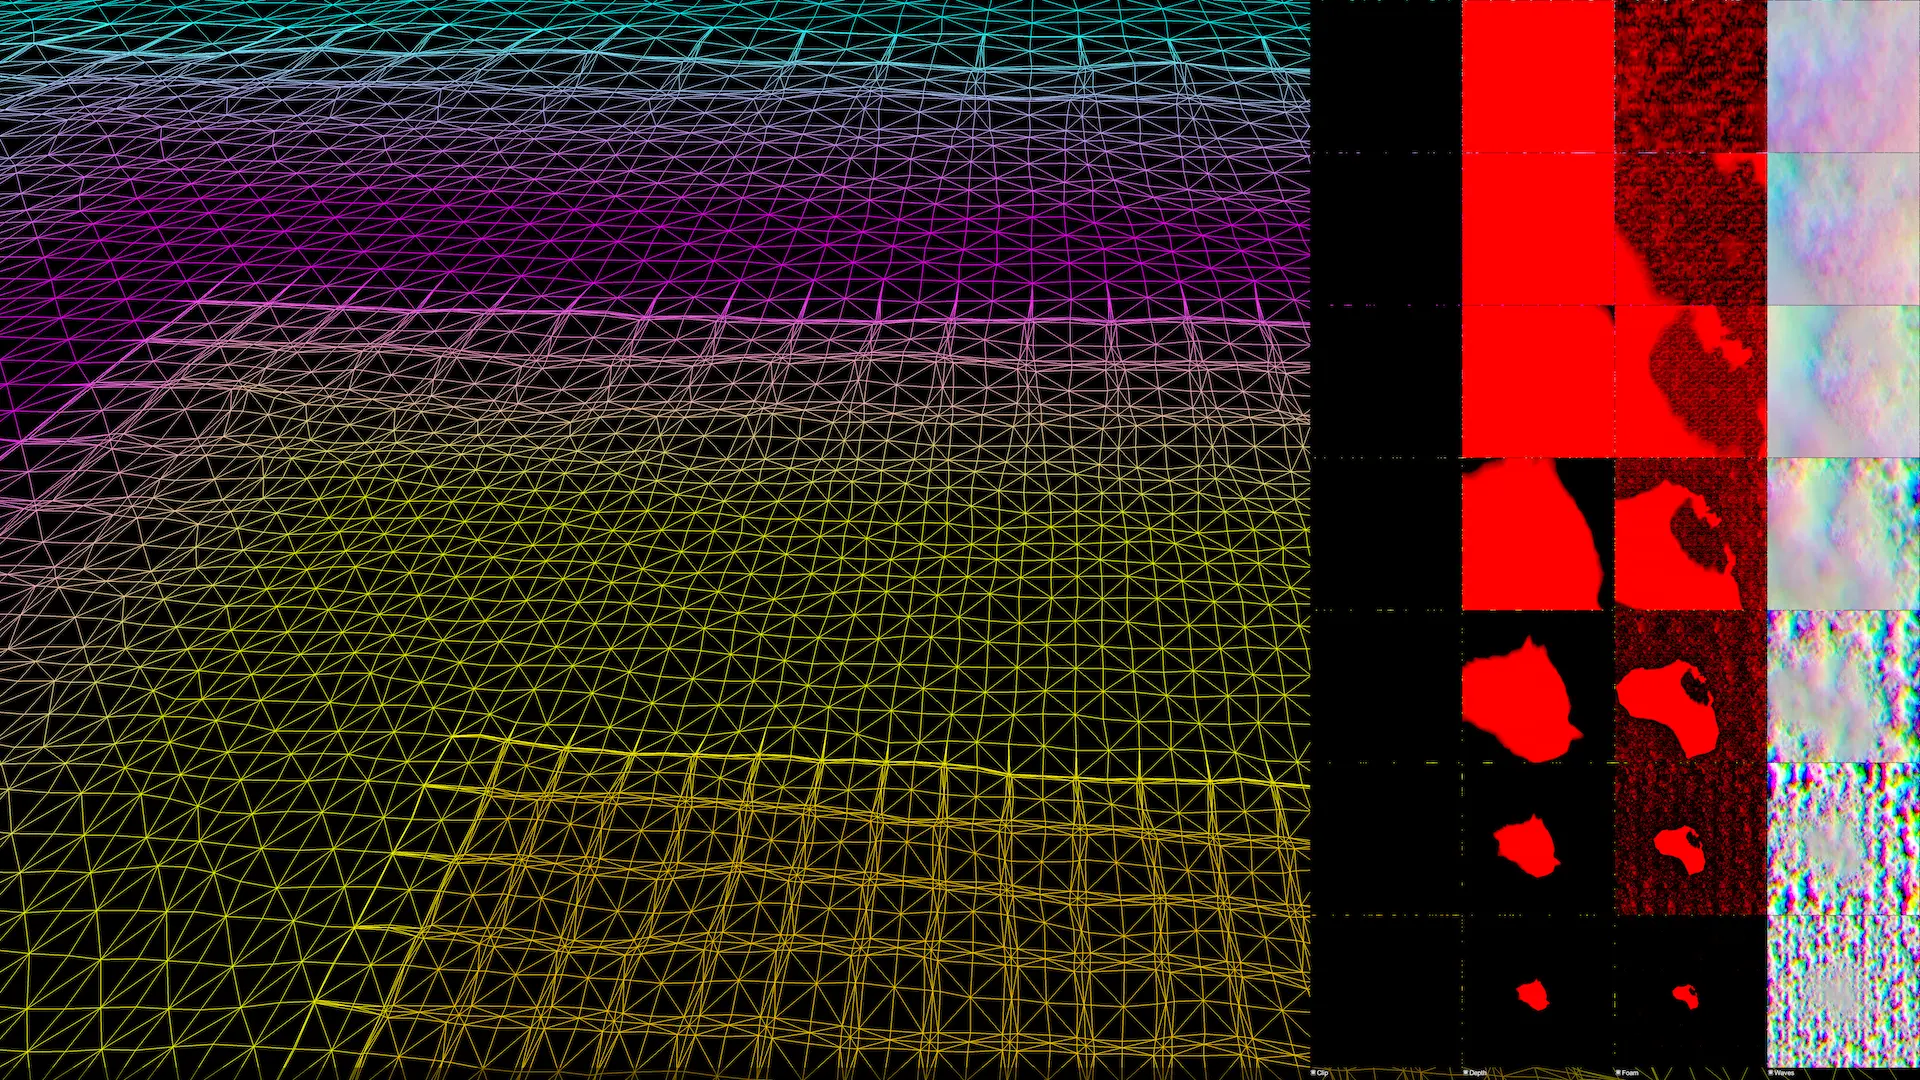
There are a small number of parameters that control the construction of the water shape and geometry. All the the Level of Detail properties is under .
There are a few important things to note:
Resolution will apply to each simulation, unless they override it (some will by default).
Mesh density is based on both Resolution and Geometry Down Sample Factor. The latter is applied after the former. Increasing Resolution will increase density, and increasing Geometry Down Sample Factor will decrease density.
Please see Multiple Viewpoints for more information for .
Multiple Viewpoints
Added in version 5.7.0.
Preview
This feature is in preview and may be subject to changes or needs refinement.
A viewpoint is not the same thing as a camera. A viewpoint is a center of detail, which is typically rendered at the camera’s position. Crest will render features like underwater based on the camera, but the surface is rendered based on the viewpoint.
Crest’s LOD system can support multiple viewpoints. This needs to be enabled with .
The LOD system will now render in the camera loop, per-camera. By default, all cameras not tagged as MainCamera are excluded as viewpoints. Multiple cameras can be tagged as MainCamera, but this may cause problems, as it is expected for only one camera to be the main camera. Managing the exclusion list can be done at: .
If Non Main Camera is remove from the exclusions, then any game camera which has the Water layer in its culling mask will have its own viewpoint.
Adding a Water Camera component alongside the Camera component will bypass the exclusions and mark the camera for having its own viewpoint. Furthermore, this will allow adding a Viewpoint override.
There is also an option to keep viewpoints updated in the background () - even when the camera is no longer rendering. Typically, this should not be required, but there are cases where you may want the viewpoint primed like when switching multiple cameras which are far enough apart.
Maximum LOD Rendering
Added in version 5.10.
Preview
This feature is in preview and may be subject to changes or needs refinement.
You can think of this as the equivalent of billboards. Beyond the very last LOD, there is no data to represent simulations like water level or water color. This feature will render the inputs directly to the screen at that distance. This will allow a greater reduction in LOD Count without losing visuals.
It is enabled by default, and can be disabled with . Furthermore, inputs that support this feature will have their own toggle.
Simulations which support this feature:
Furthermore, for this feature to work, the input must be of a certain mode:
Important
If there is no water level input, make sure the transform Y is at sea level, otherwise it will render at the wrong location.
Limitations
This feature currently has some strong limitations:
it will not work for inputs below sea level (the main water plane)
overlapping inputs will not work correctly if they have feathering
overlapping inputs that produce different values will not work correctly
if using the spline, make sure there are no radius and subdivisions overrides, otherwise they will not match